Quick Start
Hands Off
- Touch only with clean hands. Avoid twisting, spinning, or moving jewelry.
- Snagging is the #1 cause of irritation - be careful with hair, towels, headphones, and clothing.
What to Expect
- In the first 2-3 weeks, mild redness, tenderness, swelling, and light discharge can be normal.
- If symptoms worsen over time or you feel strong pressure, get professional advice.
Keep It Clean
- Clean as needed with sterile saline. Rinse gently in the shower if recommended by your piercer.
- Avoid harsh products (alcohol, hydrogen peroxide, strong soaps) unless advised by a professional.
Keep It Dry
- After cleaning or showering, dry the area thoroughly with clean paper towel or sterile gauze.
- Avoid prolonged soaking (baths, pools, hot tubs) during healing.
Downsizing Tip (Studs)
- As swelling goes down, a shorter post can reduce snagging and irritation.
- If you are unsure about sizing, consult a professional piercer.
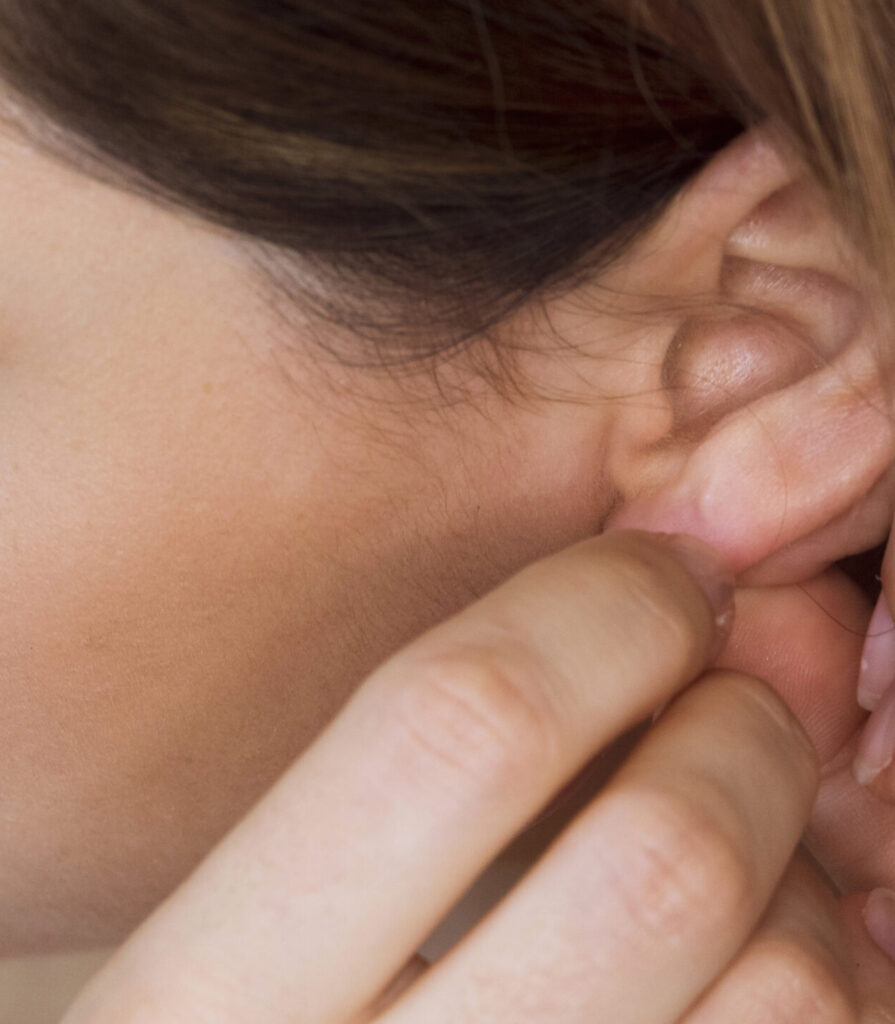
How to Install
Internally Threaded (Screw-In)
- Wash hands and work on a clean, well-lit surface.
- Insert the post gently and keep it aligned straight with the piercing channel.
- Place the top on the post and turn clockwise to tighten.
- Tighten snugly - do not over-tighten.
Threadless (Push-In)
- Wash hands and work on a clean, well-lit surface.
- Insert the post gently and keep it aligned straight.
- Push the top into the post until it locks in place.
- To remove, hold the post steady and pull the top straight out (a gentle twist can help).
Style-by-Style Guide
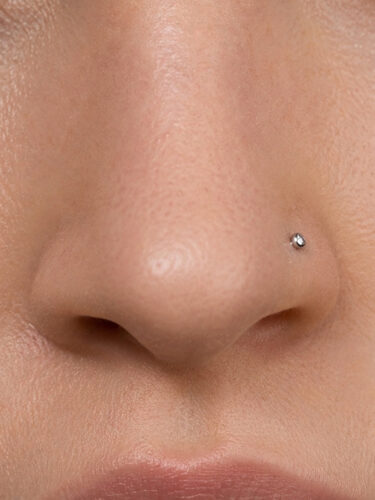
Labret (Flatback)
Best for: cartilage, helix, conch, tragus, lobe, and some lip placements (fit depends on anatomy).
- Insert the flatback post first, then attach the top from the front.
- The back should sit flat and feel secure without digging into skin.
- If it feels tight or leaves deep marks, choose a longer post (especially for newer piercings).
Clicker Rings
Best for: septum, daith, and some cartilage placements (depending on anatomy).
- Open the hinged segment gently until it clicks open. Do not force the hinge.
- Insert carefully and close until you feel a clean click.
- Confirm the hinge is fully closed and flush.
Belly Ring (Navel)
Best for: healed navel piercings or piercings assessed by a professional piercer.
- Insert gently with the curve following the natural line of the piercing.
- Avoid tight waistbands and friction from clothing.
- If it feels tight when sitting or bending, you may need a different length or style.
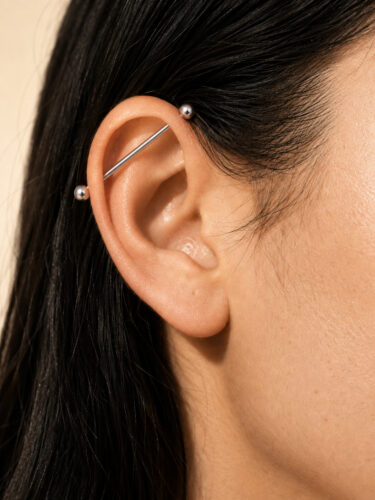
Curved Barbell
Best for: eyebrow, rook, some navel placements, and other anatomy-dependent areas.
- Align the curve with the natural path of the piercing and insert gently.
- Too short can cause pressure; too long increases snagging risk.
- Avoid twisting the jewelry during healing.
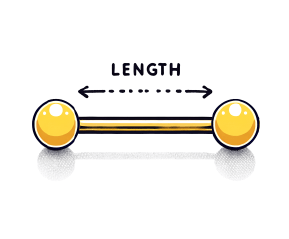
Nipple Barbell
Best for: nipple piercings (correct anatomy and placement required).
- Insert straight through the channel - do not angle.
- The bar should not compress tissue. If it feels tight or embeds, seek help promptly.
- Avoid snagging from towels, loofahs, lace, and tight sportswear.
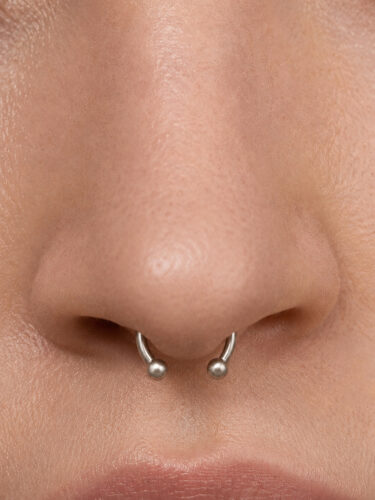
Septum
Best for: healed septum piercings.
- Insert carefully and ensure the closure is fully engaged (especially clickers).
- Choose a diameter that does not press into the nostrils.
- Avoid changing jewelry when the area is tender or inflamed.
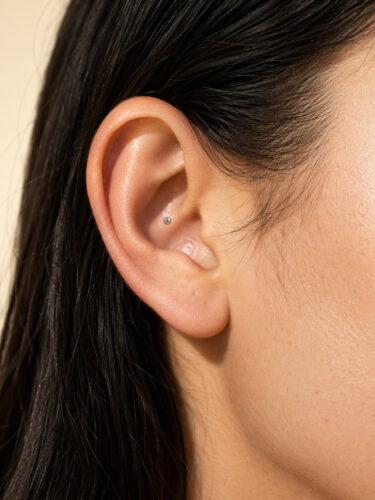
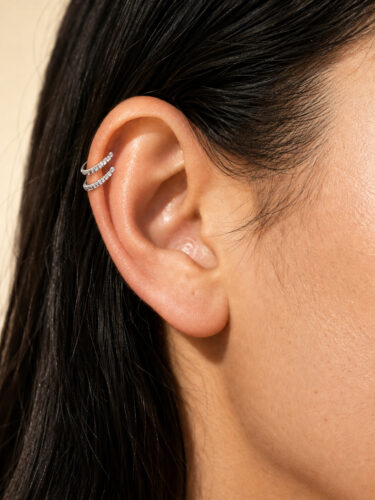
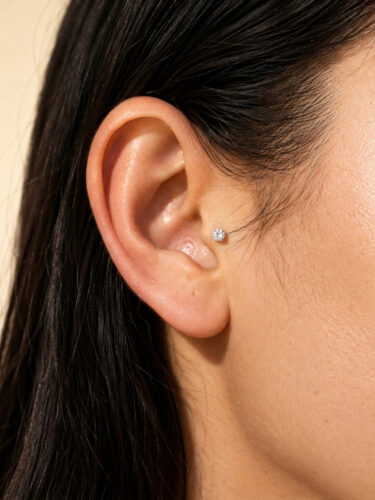
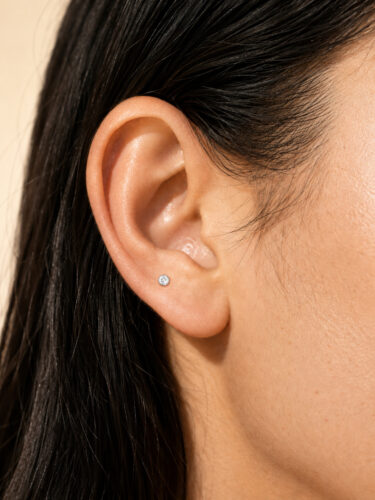
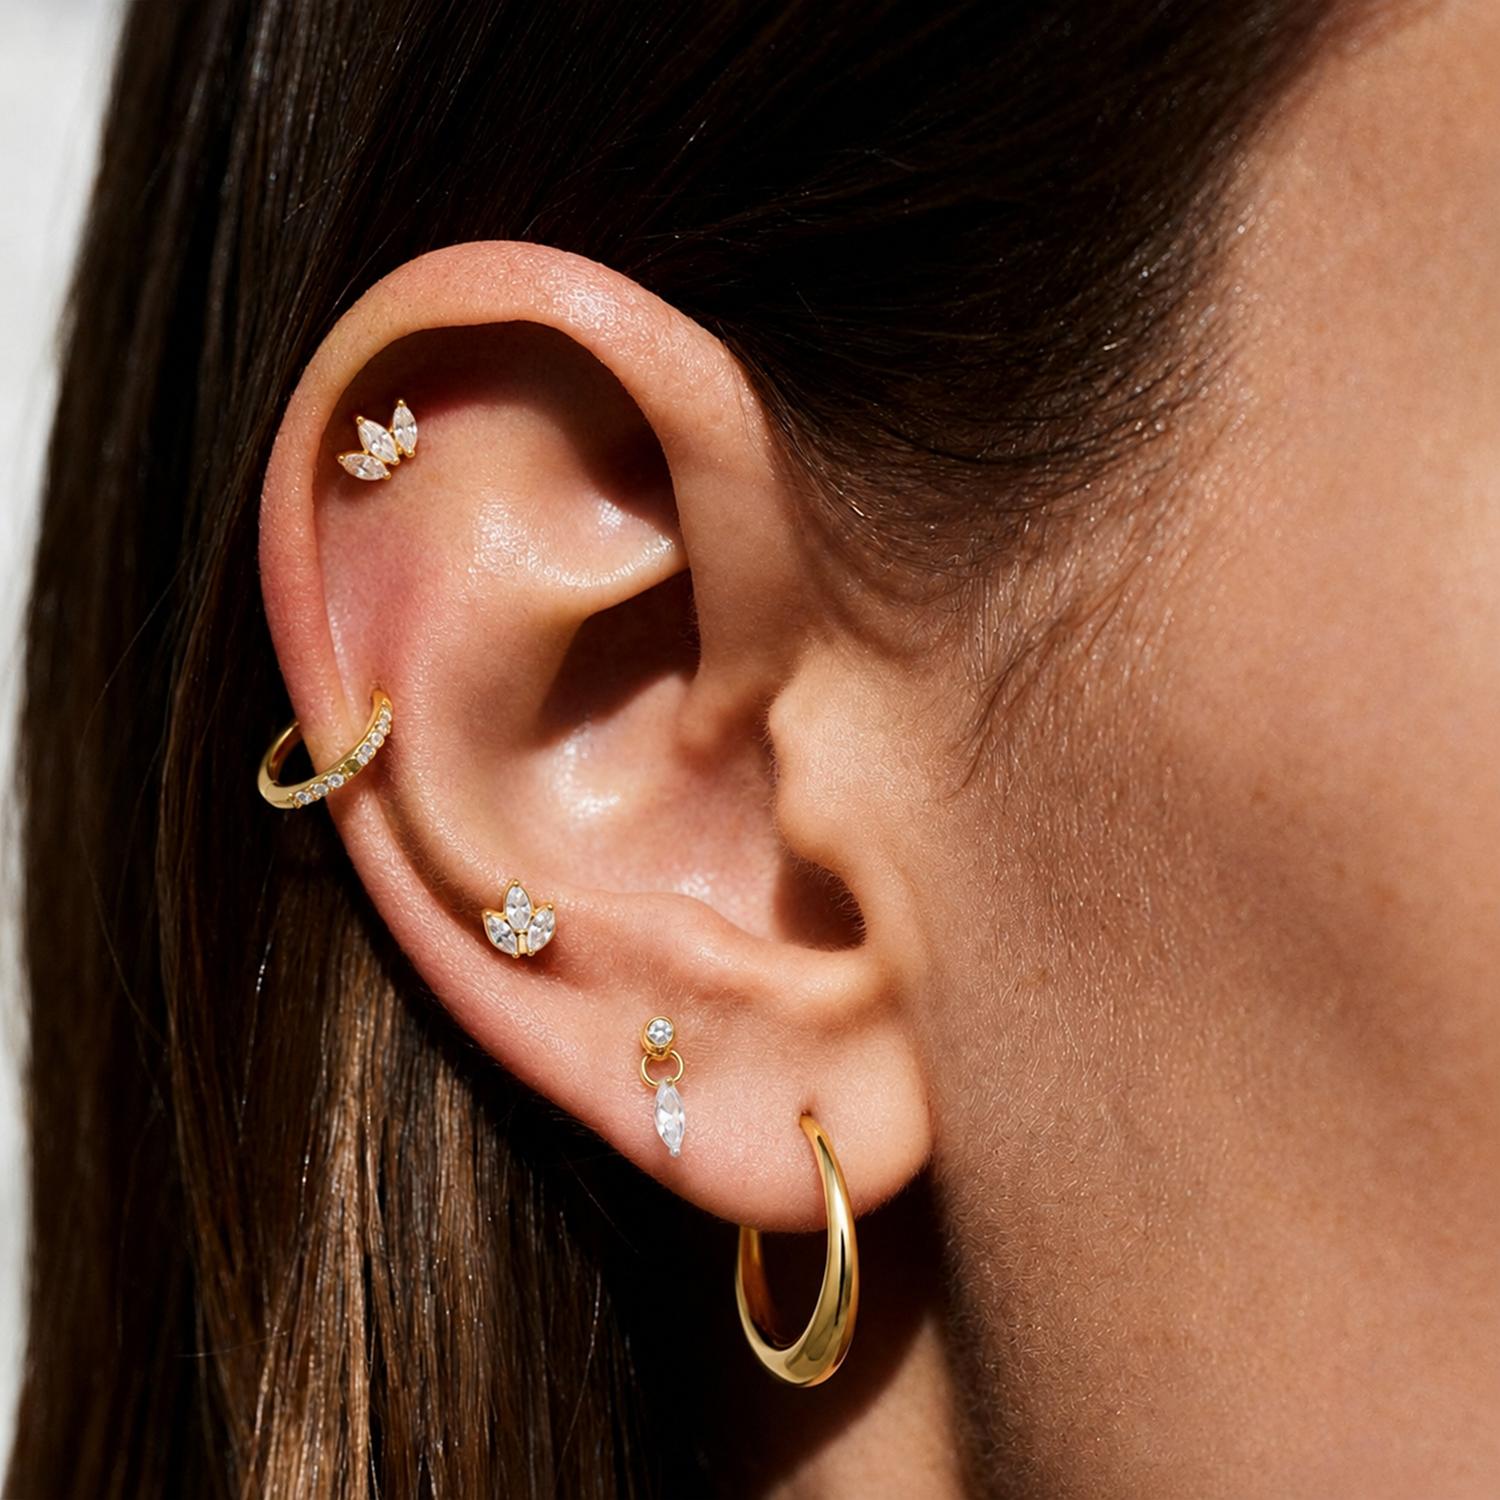
Cartilage (Helix / Conch / Tragus / Daith)
Fit is key for cartilage - swelling and pressure can cause irritation.
- Studs: ensure the back does not press into skin. Rings: ensure the diameter does not pull or distort.
- Avoid sleeping pressure on the piercing. Consider a piercing pillow.
- Headphones and helmets can irritate healing cartilage - adjust as needed.
When to Pause and Get Help
- Increasing redness, heat, swelling, or severe pain
- Thick yellow/green discharge or strong odor
- Jewelry embedding or the area feels too tight
- Fever or worsening symptoms
If you suspect an infection, consult a medical professional. Do not remove jewelry unless instructed, as it may trap infection.
Hygiene Notice
For safety reasons, jewelry that has been worn or installed cannot be returned or exchanged.